
DIY Holiday Chalkboard Tutorial

Tutorial Skill Level: Beginner
Happy December! 🎄 In this DIY Holiday Chalkboard Sign Tutorial for Beginners, I'll show you how to use VersaChalk chalkboard contact paper to transform a picture frame into a beautiful piece of holiday decor. I show you my process from start to finish, from creating my design in Adobe Fresco, applying the chalkboard contact paper, and transferring the design. To color everything in, I used a combination of VersaChalk and Deflecto chalk paint markers. This was a fun project I love doing every year, and I hope you use it to create something special for your home or for friends and family.
Watch the full tutorial here: https://youtu.be/FfvpWaUz0-4?si=WU0MIEmYZSMkP59F
Some of the links below may contain affiliates that help support my business at no additional cost to you. Thank you for your support!
Supplies List
Saral Transfer Paper
Versachalk Contact Paper
Container for Water
Q-Tips
Cardboard Scrap
Lead Pencil
8x10 Picture Frame
Versachalk Markers
Deflecto Wet Erase Markers
You can also find my full supplies list on my Amazon Storefront.
Creating The Design
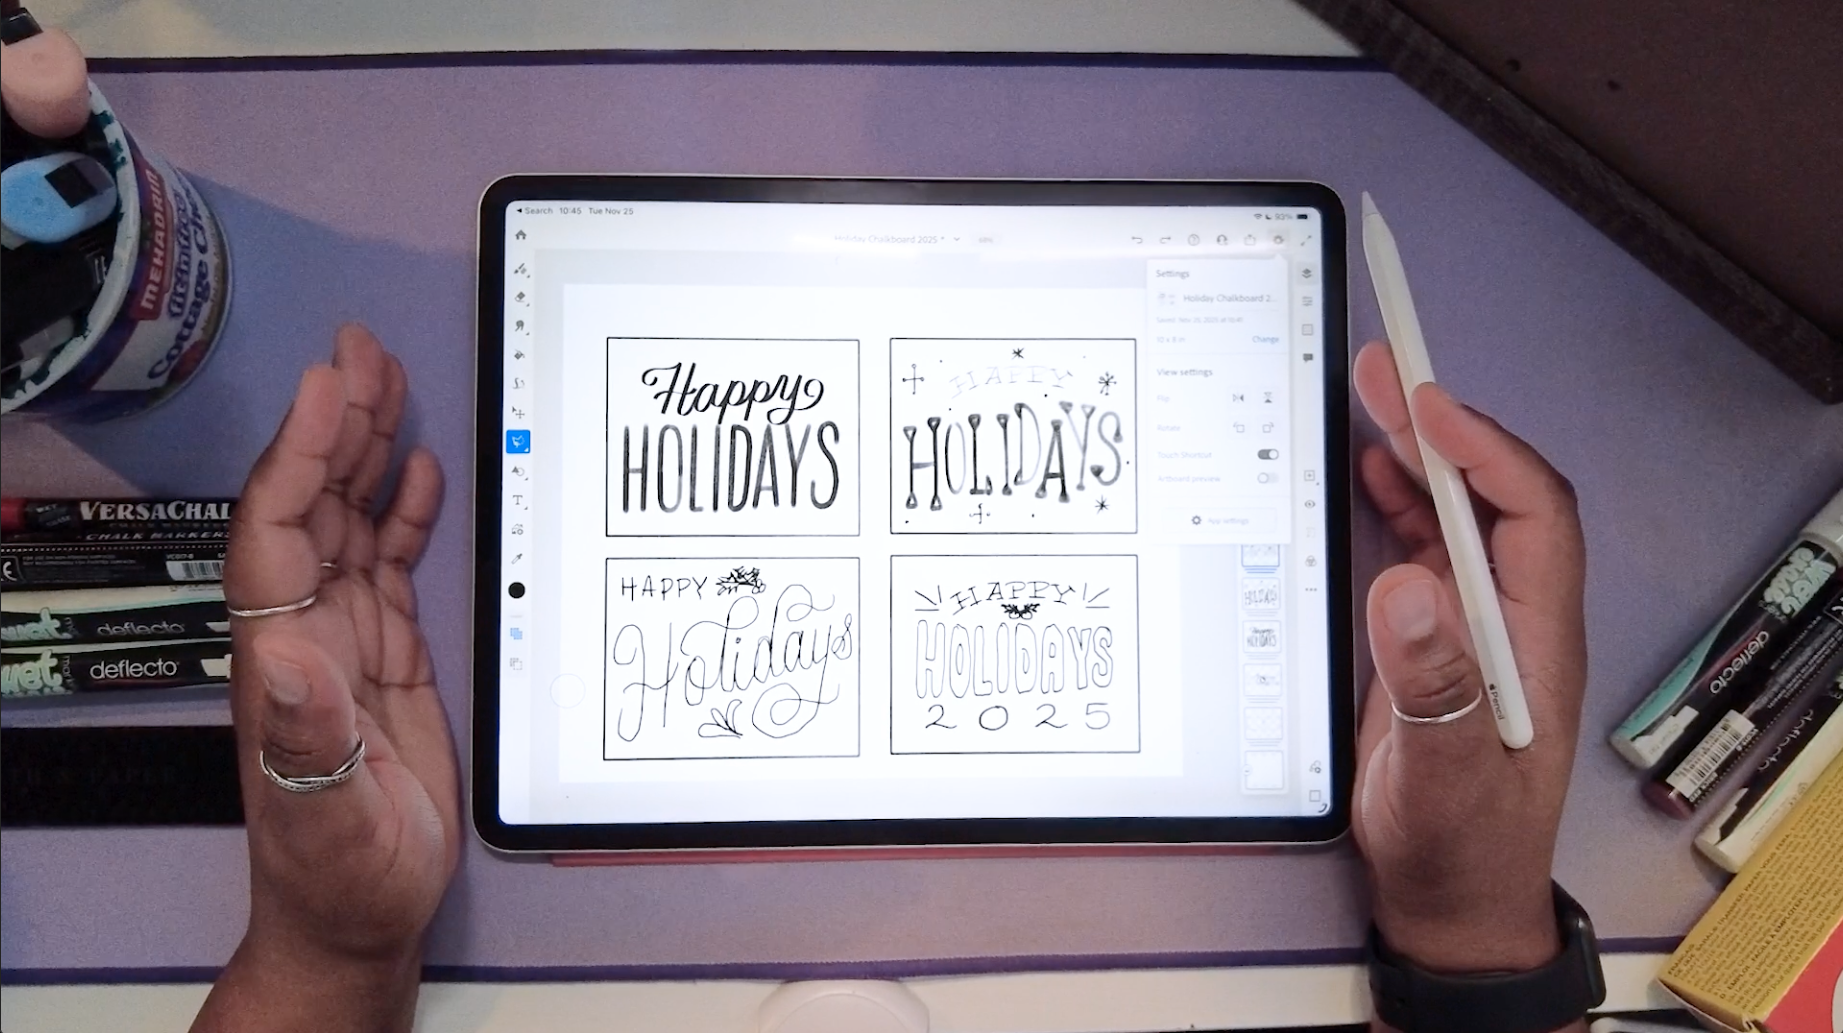
I start my design process in Adobe Fresco on a 300 DPI, 10”x8” canvas. I created four different rough sketch options for my design. You can create as many options as you like and refine your design for the transfer. If you want to use my design from this tutorial, you can download it here: https://agfdesignstudio.kit.com/holidaychalkboard.
Preparing Your Chalkboard
Note: Your glass will be sharp. Be careful when handling it.
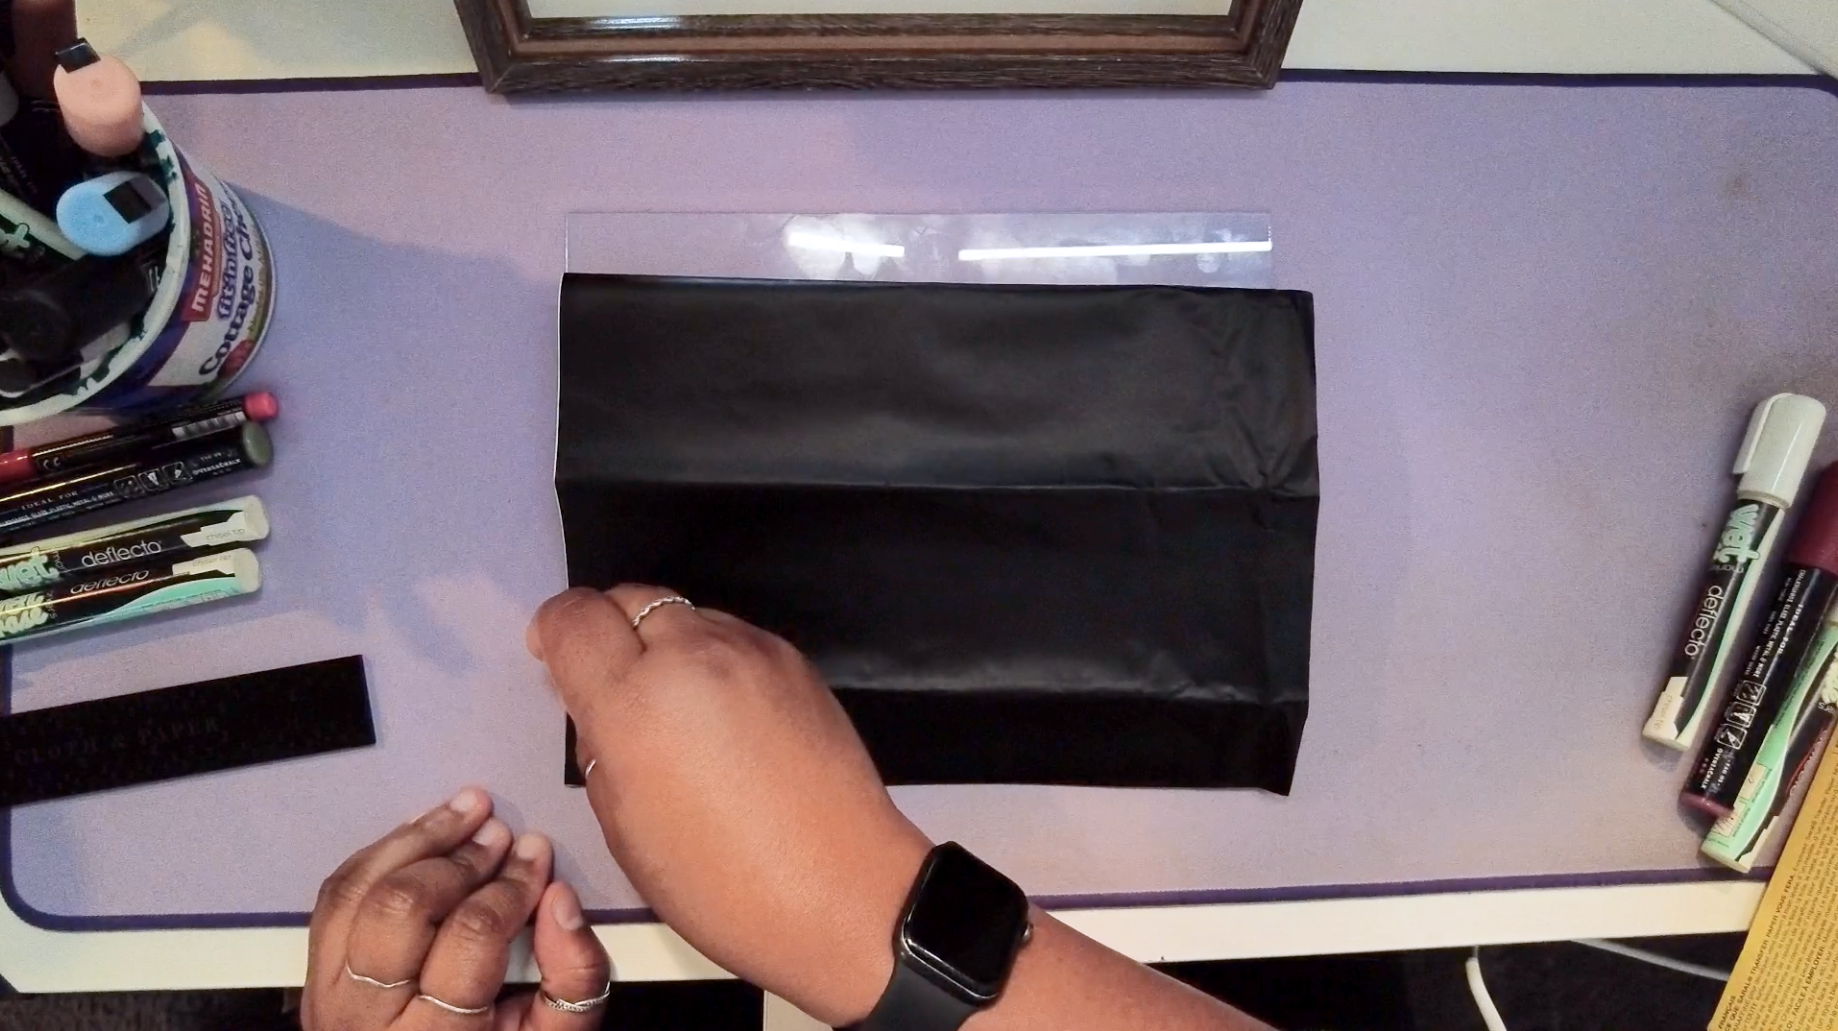
For this step, I use VersaChalk contact paper and applied it over the glass of my picture frame. It's important to note that this step can be tricky, so don't be upset if it takes more than a few tries. You can use a squeegee or an old card to smooth out the contact paper onto the glass. A tip I like to use is to push the bubbles away from the center and towards the edges of the glass. It's okay if the edges aren't perfect. The picture frame border will cover them up.
Transferring Your Design
Once the contact paper is applied, you can take a sheet of Saral Transfer Paper and apply it face down onto your glass. You should apply the more brightly colored side, as that'll be the one with the transfer color on it. From there you can place your design on top of the transfer paper and trace over it with light pressure using your lead pencil. I don't eject the lead from the pencil and just use the blunt tip. You can also use an ink pen for this step if you don't have a pencil.
Coloring Your Design
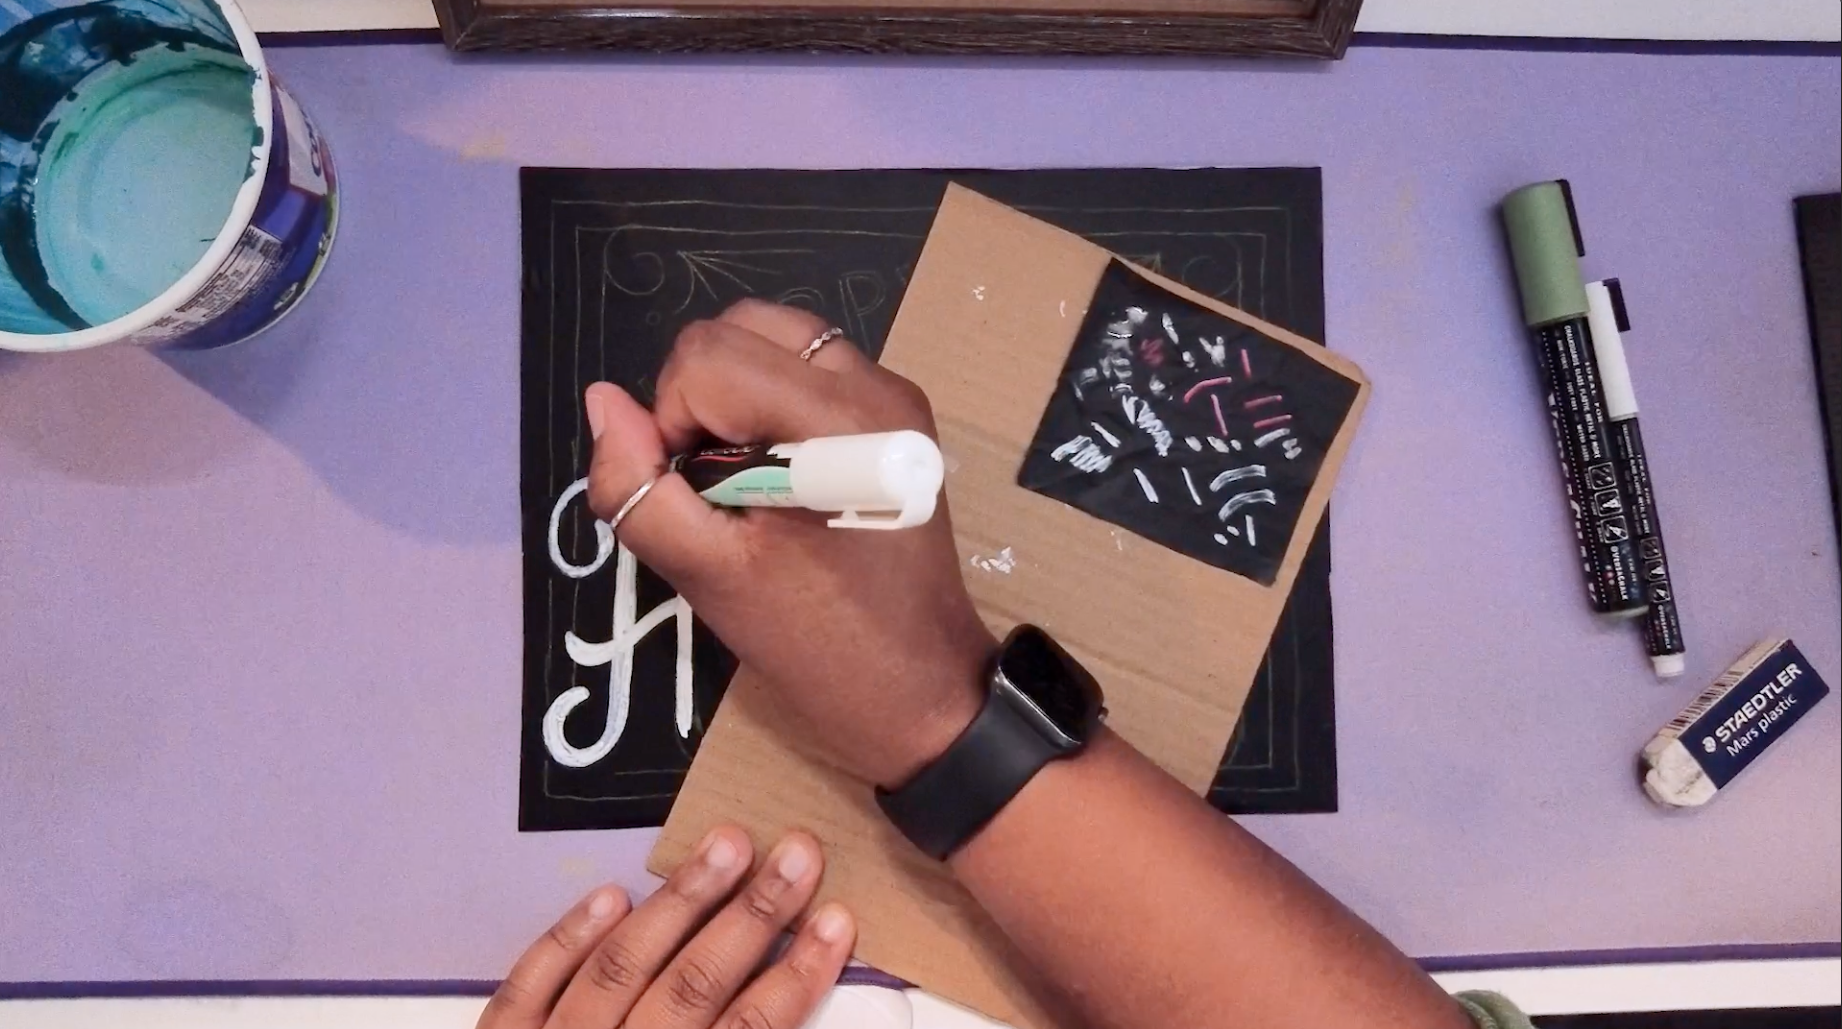
Coloring the design is my favorite part. Follow the instructions for your markers if this is your first time using them. Once they're ready, you can start coloring your design in. Start wherever you like, but be careful not to smudge your work. To help with this, I use a scrap piece of cardboard to rest my arm on. To get nice, straight lines for the design's border, I use a ruler. To clean up your lines or any mistakes, you can use a slightly wet Q-tip. It's also a great way to carve out lines and edges. Any transfer lines can be removed with wet or dry Q-tips.
Check out the full tutorial, and don't forget to like, share & subscribe!